
Growing a Lawn From Seed: Timing, Preparation, and Realistic First-Year Expectations

Key Takeaways
Why Seeding Beats Sod for Many Homeowners
Seeding a new lawn costs considerably less than installing sod and, when done correctly, produces grass with deeper roots that's better adapted to your specific soil. The tradeoff is time - a seeded lawn won't handle regular use or look fully established until its second growing season. For homeowners with patience and a willingness to do the groundwork carefully, seed is a practical and effective choice.
The variables that matter most aren't complicated: correct timing for your grass type, a properly prepared seedbed, and consistent moisture through germination. Each of the steps below addresses one of these variables in sequence. If you're starting from completely bare or unworked ground, reviewing our complete walkthrough for first-time ground preparation will give you a strong foundation before you begin.
What you will need
Tools and Materials You'll Need
Seeding a lawn doesn't require specialized equipment, but having the right basic tools makes the process significantly more effective. Review the list below before you begin - renting a lawn roller or dethatcher for a single weekend is often more practical than purchasing.
Broadcast or Drop Spreader
Distributes grass seed evenly across the prepared area at the correct application rate.
Garden Rake
Loosens the top 1-2 inches of soil and lightly covers seed after spreading.
Lawn Roller
Firms seed-to-soil contact after seeding, which improves germination rates.
Oscillating or Sprinkler Hose
Delivers gentle, even moisture to the seeded area without displacing seeds.
Soil pH Test Kit
Measures soil acidity so amendments can be applied before seeding.
Identify your grass type and ideal seeding window
The US divides broadly into cool-season and warm-season grass regions. Cool-season grasses - including Kentucky bluegrass, tall fescue, and perennial ryegrass - thrive in the northern states and transition zone. Their optimal seeding window is late summer to early fall (typically August through October), when soil is still warm but air temperatures are dropping. Warm-season grasses - bermudagrass, zoysia, centipede, and St. Augustine - establish best in late spring through early summer (May through July) when soil temperatures consistently reach 65-70°F or above.
Seeding outside these windows significantly reduces germination success. Spring seeding of cool-season grasses is a secondary option but competes with weed pressure and summer heat stress.
Test and amend the soil
Collect soil samples from several spots across the area and submit them to your local cooperative extension service, or use a reliable home test kit. Results will indicate pH, nitrogen, phosphorus, and potassium levels. Most lawn grasses prefer a pH between 6.0 and 7.0. Apply ground limestone to raise pH or sulfur to lower it, following test-based recommendations. Work any amendments into the top 4-6 inches of soil.
[important_callout]Prepare the seedbed
Clear the area of debris, rocks, and any existing dead vegetation. For bare ground, loosen the top 4-6 inches with a tiller or garden fork to relieve compaction and improve root penetration. Grade the surface so it slopes gently away from any structures - a 1-2% slope prevents water pooling. Fill low spots with weed-free topsoil or a compost blend and rake smooth. If you're working with existing thin lawn areas, a dethatching rake or power dethatcher may be needed to expose the soil surface before overseeding. For a broader introduction to site preparation, our first-timer's walkthrough for bare ground covers foundational concepts well.
Spread seed at the correct rate
Calibrate your spreader and apply seed at the rate specified on the seed package for new lawn establishment - not the overseeding rate, which is typically lower. Make two passes in perpendicular directions (north-south, then east-west) to ensure even coverage. After spreading, use a rake to lightly work seed into the top ¼ inch of soil. Seed left sitting on the surface dries out quickly and is highly vulnerable to birds and wind displacement.
If available, use a lawn roller filled to about one-third capacity with water to gently firm seed-to-soil contact without burying the seed too deeply.
Water consistently through germination
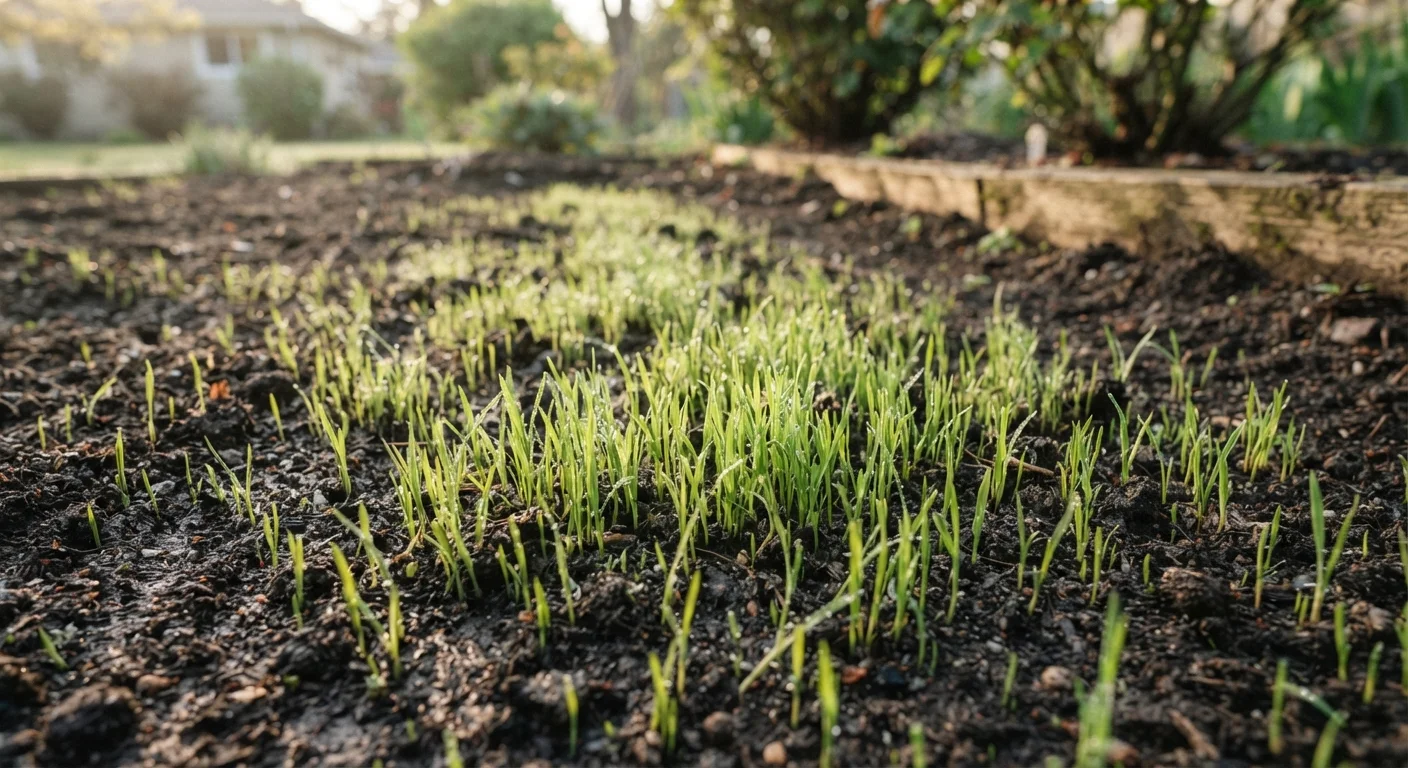
New seed requires the top ½ inch of soil to stay consistently moist until germination is complete - typically 7 to 21 days depending on species and temperature. Water lightly two to three times per day in hot or windy conditions, reducing to once daily as seedlings establish. Avoid saturating the soil; standing water promotes fungal damping off. Once seedlings reach about 1 inch tall, gradually shift toward deeper, less frequent watering to encourage downward root growth.
[tip_callout]Mow at the right time and manage first-year expectations
Wait until the new grass reaches at least 3-3.5 inches in height before the first mow, and never remove more than one-third of the blade height in a single session. Mowing too early pulls shallow-rooted seedlings from the soil. Use a sharp blade and keep foot traffic minimal during the first growing season.
Year one will likely look uneven. Thin patches, slower germination in shaded areas, and some weed intrusion are normal. Resist the urge to heavily fertilize early - a starter fertilizer applied at seeding is usually sufficient until the lawn is well established. For help diagnosing areas where seed simply refuses to sprout, our article on why seeds fail to germinate addresses the most common soil and moisture causes.
Setting Realistic First-Year Expectations
One of the most common frustrations with seeded lawns comes from comparing a new planting to a mature lawn. In the first season, expect a lawn that germinates in patches, grows unevenly, and may show weeds in bare areas before grass fills in. This is normal and doesn't indicate failure.
Cool-season lawns seeded in fall will enter winter as young seedlings and resume growth aggressively in spring. Warm-season lawns seeded in early summer will spread through rhizomes and stolons over the growing season. Full turf density - meaning a continuous, closed canopy - typically takes 18 to 24 months from seeding. Manage that expectation clearly from the start, and resist the temptation to apply heavy weed treatments or aggressive fertilizer regimens before the lawn has time to establish its root structure.
Pre-Emergent Herbicides Block Grass Seed
If you applied a pre-emergent weed killer (such as those containing pendimethalin or prodiamine) to your lawn earlier in the season, do not seed for at least 8-12 weeks, or according to the product's specific label. Pre-emergent herbicides prevent all seeds - including grass - from germinating. Timing a seeding project without checking this first leads to near-total failure.