

Key Takeaways
Understanding the Damage Before You Mix Any Compound
Drywall is durable, but it's not immune to the everyday wear of a lived-in home. Doorknob impacts leave round punch-through holes. Settling produces diagonal cracks at window and door corners. Roof or plumbing leaks leave brown-rimmed stains that bleed through paint no matter how many coats you apply. Each damage type has its own repair logic - using the wrong approach wastes materials and often makes the wall look worse once painted.
A key distinction worth making early: hairline cracks are usually cosmetic, the result of normal seasonal movement in wood framing. But cracks wider than 1/8 inch, or cracks that recur after repair, can signal foundation settling, framing movement, or persistent moisture. In those cases, investigate the underlying cause before investing time in a cosmetic fix. The same applies to water stains - if the source of the moisture isn't resolved, the damage will return. A common misconception is that paint alone can cover and seal these problems; DIY myths like this one regularly cause homeowners to repeat repairs unnecessarily.
What you will need
What You'll Need for the Job
The materials list for drywall repair is straightforward, though the specific items vary by damage type. Nail holes need only a putty knife and a small container of lightweight compound. Large holes require backer support, mesh or paper tape, and multiple knives. Water stain repairs always need a stain-blocking primer regardless of whether there's structural damage to patch. Gather materials before you start so that drying time between coats isn't interrupted by a supply run.
Drywall Joint Compound
Used to fill, skim, and smooth patched areas and hairline cracks.
Drywall Knives (6-inch and 10-inch)
Apply and feather joint compound across the repair area for a flush finish.
Self-Adhesive Mesh Tape
Reinforces patches over medium-sized holes to prevent cracking over time.
Stain-Blocking Primer
Seals water-stained drywall so discoloration doesn't bleed through new paint.
Sanding Block or Pole Sander
Smooths dried compound between coats and before painting for a flat surface.
Texture Spray or Texture Brush
Recreates existing wall texture (such as orange peel or knockdown) over the patch.
Step-by-Step Repair Process
Follow these steps in order - skipping stages like adequate drying time or surface preparation is the most common reason DIY drywall repairs look patchy under paint. Each coat builds on the one before it, and patience between coats pays off in the final result.
Assess and clean the damage
Before applying any compound, examine the damage closely. Small nail holes and dings require only a thin skim of compound. Holes between 1/2 inch and 4 inches need a patch kit or mesh backing. Holes larger than 4 inches typically call for a California patch or a backer-board repair with new drywall cut to fit. Cracks should be widened slightly with a putty knife to remove loose material - filling a hairline crack without doing this leads to re-cracking. Remove any dust, grease, or flaking paint around the repair zone using a damp cloth, then allow the area to dry completely.
Apply backing or mesh tape as needed
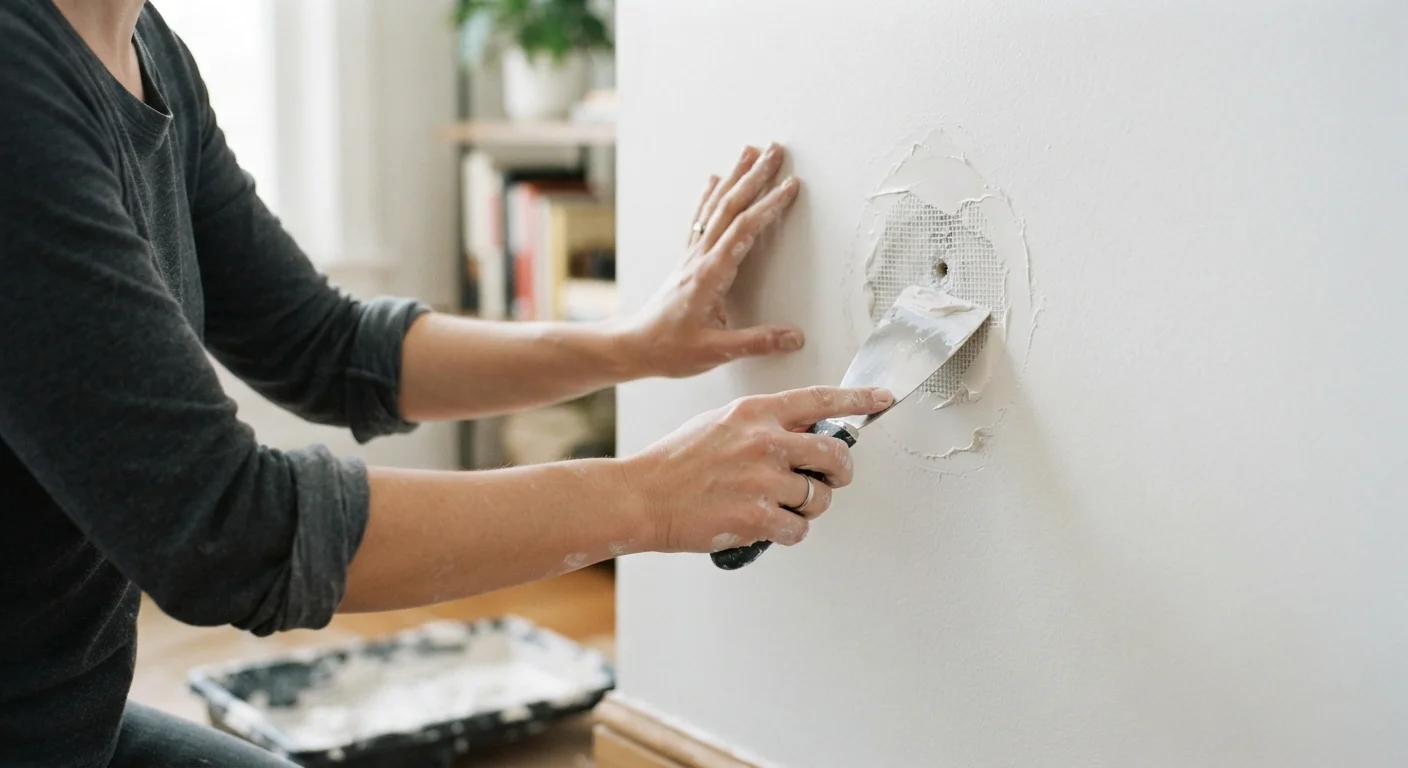
For holes larger than about 1/2 inch, compound alone won't bridge the gap reliably. Self-adhesive mesh tape works well for holes up to roughly 4 inches - press it firmly over the hole so it adheres flat to the surrounding drywall. For larger voids, cut a piece of drywall slightly smaller than the hole, attach a horizontal backer board (a strip of wood or another piece of drywall) inside the wall using screws from the front, then screw the patch piece to the backer. For cracks, apply paper tape or mesh tape along the length of the crack, embedding it lightly into a first thin coat of compound.
Apply the first coat of joint compound
Using your 6-inch drywall knife, press joint compound firmly into the patch or crack, filling the void completely. Scrape the knife nearly flat against the wall to remove excess. The goal of this first coat is adhesion and void-filling, not surface perfection - it will look rough, and that's acceptable. Allow the coat to dry fully before proceeding. Drying time varies by humidity and temperature but is typically 4-8 hours for a standard weight compound; lightweight compound often dries faster.
Sand, then apply a second and third coat
Once the first coat is fully dry, sand lightly with 120-grit sandpaper to knock down ridges. Wipe away dust. Apply a second coat using your wider 10-inch knife, feathering the edges 2-3 inches beyond the first coat in all directions. This feathering is what blends the repair invisibly into the surrounding wall. After the second coat dries and is lightly sanded, apply a third thin skim coat if needed. The final coat should be feathered even wider. Finish with 220-grit sandpaper for a smooth surface.
Treat water stains before priming
If your repair involves a water-stained area, standard primer will not block the stain - it will bleed through paint even after multiple coats. Use a shellac-based or oil-based stain-blocking primer specifically formulated to seal in discoloration. Apply one coat over the stained drywall paper and dried compound, allow it to dry per the manufacturer's instructions, then proceed to finish painting. If the stain is due to an active or recent leak, confirm the moisture source is fully resolved before sealing the wall - trapping moisture accelerates mold growth.
Match texture and paint to finish the repair
Prime the entire repaired area before painting. If your walls have a texture - orange peel, knockdown, or skip trowel - recreate it now using a spray can texture product or a brush technique matched to the pattern. Practice on cardboard first to calibrate the effect. Once the texture is dry, roll or brush on paint using the same sheen and color as the surrounding wall. Because fresh paint looks different than aged paint, you may need to paint the entire wall panel for a seamless result rather than spot-painting the patch alone.
When to Call a Professional Instead
Most holes, cracks, and stains fall well within DIY territory. But there are situations where a drywall contractor or related trade professional is the better call. Damage covering large sections of a room - say, water intrusion that has compromised multiple sheets of drywall - is faster and more consistently repaired by a professional with spray texture equipment and production-speed finishing skills. Mold visible within or behind the drywall is a remediation job, not a patch job; painting over mold is ineffective and potentially a health concern.
Similarly, if cracks appear near a wall you're uncertain about - particularly older homes where wall function isn't obvious - it's worth a preliminary assessment. Understanding the difference between load-bearing and partition walls helps clarify whether crack patterns warrant structural attention rather than cosmetic repair.
For contained, clearly cosmetic damage - a hole from a relocated light switch, a door-handle dent, a single water ring from a roof drip since repaired - the techniques in this guide are a reliable path to a wall that looks untouched.