

Key Takeaways
Why Kitchen Drawers Are the Hardest Space to Keep Organized
Kitchen drawers fail for a specific reason: they're convenient catch-alls that never had a defined purpose. Batteries land next to takeout menus, half-used candles, and a rubber band from a bunch of broccoli bought two years ago. Over time, the drawer becomes so chaotic that finding anything requires excavation - so you stop using it intentionally and just add to the pile.
The core problem isn't volume. It's that most drawers lack a system that matches how the household actually behaves. As we explore in our piece on organization myths that backfire, buying matching bins without first changing habits rarely produces lasting results. Drawer organization is no different.
Before you buy a single insert, you need to understand what the drawer is supposed to do - and for whom. That clarity is what separates a drawer that stays tidy from one that reverts to chaos in two weeks.
What you will need
What You'll Need Before You Start
Drawer organization doesn't require a significant budget or specialty products. Most of what you need is likely already in your home. Gather your supplies before emptying the drawer so the process doesn't stall mid-sort.
Drawer dividers or small bins
Creates defined zones within the drawer so categories stay separated over time.
Trash bag
Immediately removes expired, broken, or unidentifiable items during the sort.
Masking tape and marker
Temporary labels help test category placements before committing to a final layout.
Small zip-lock bags
Groups loose small items - screws, twist ties, batteries - that would otherwise scatter.
Once you have your materials ready, set aside a flat surface nearby - a kitchen table or clean counter - where you can sort items during the process. Attempting to sort inside the drawer itself leads to the same disorganized result.
Step-by-Step: Organizing Your Kitchen Drawer
Follow these steps in order. Skipping ahead - particularly past the sorting phase - is one of the most common reasons a reorganization effort doesn't hold. This process works for junk drawers, utensil drawers, and the miscellaneous catch-all that every kitchen seems to develop on its own.
Empty the drawer completely
Remove every single item and place them on your nearby flat surface. Do not sort while emptying - just get everything out. This gives you a clear view of the drawer's actual dimensions and lets you see the full inventory of what's been accumulating.
Sort items into four categories
Work through the pile on your table and place each item into one of four groups:
- Keep in this drawer - used regularly and belongs in the kitchen
- Relocate - belongs in another room or drawer
- Donate or discard - duplicates, expired, or broken items
- Decide later - genuinely unsure; set aside in a small box
Be honest about the "keep" category. If you haven't used something in six months and can't name a specific upcoming use, it likely belongs in a different pile.
Define zones based on frequency of use
Before placing dividers, identify how often each kept item is used: daily, weekly, or rarely. Items used daily should be at the front of the drawer and easiest to grab. Weekly items go in the middle. Rarely used items - but genuinely worth keeping - go toward the back.
Group items by use pattern, not by object type. A flashlight used nightly belongs near the front even though it's not a kitchen tool. A specialty baster used twice a year belongs at the back even though it's clearly kitchen-related.
Place dividers and load the drawer
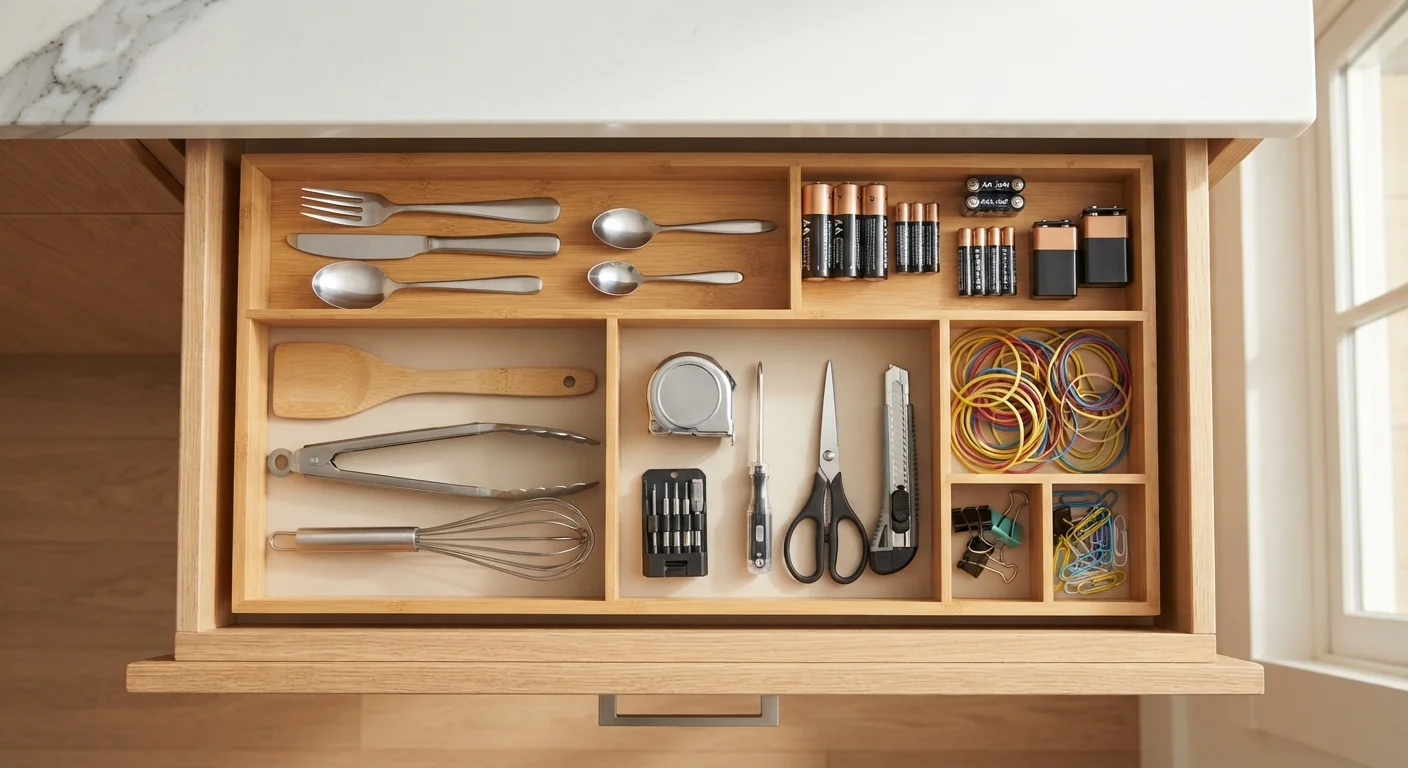
Fit your dividers or small bins into the drawer according to your zone plan. Load items back in, keeping each category contained within its section. Loose small items like batteries, twist ties, or rubber bands should go into a small zip-lock bag or a single small container rather than directly in the drawer.
Relocate displaced items immediately
Take the "relocate" pile and put each item in its correct home right now - not in a stack on the counter to deal with later. Items left on the counter after a drawer cleanout have a high rate of returning to the drawer within days.
Label Zones with Temporary Tape First
Before committing to a permanent layout, use masking tape labels for each zone and live with the system for a week. You'll quickly discover if a category needs more or less space, or if the location doesn't match how you actually reach into the drawer. Adjust based on real use before making anything permanent.
Once you've finished, take a photo of the completed drawer. When it inevitably starts to drift - as all drawers do - the photo gives you a concrete target to return to rather than trying to remember what the system was. For longer-term habits that prevent re-accumulation, our guide on habits that keep homes clutter-free covers the routines that actually stick.
Making the System Last
The biggest mistake after a successful drawer overhaul is treating it as a one-time event. Kitchen drawers accumulate clutter because they're accessible and used constantly. Building one small habit - taking 60 seconds every week to return displaced items to their zones - does more for long-term organization than any container or label.
If your household struggles with paper and small document clutter migrating into drawers, the strategies in our guide on managing paperwork at home can help intercept that category before it reaches the drawer. Similarly, if kitchen storage more broadly is creating friction, it's worth reading through our room-by-room organization checklist to identify whether the issue extends beyond the drawers themselves.
Kitchen drawer organization works best when the rest of the kitchen's storage is doing its job. If your cabinets are overflowing or your counter space is limited, items will always migrate to drawers as a pressure valve. Addressing the full kitchen storage picture - including decisions explored in our article on open shelving vs. closed cabinets - makes any drawer system significantly easier to maintain.